
Setting Up an Assistant with OpenAI
This is a guide on how to set up an assistant with OpenAI.
Why would you need an openAI assistant?
You might need to create a virtual assistant or a knowledge base that intelligently retrieves information from the data you provide. A common example is creating a virtual assistant that acts as a customer service agent for a company.
Company A sells domain names online: they want to improve user experience by making it easier for users to find the information they need. There are two approaches to this: The first is to make the user interface more intuitive and user-friendly. Another way is to embed an assistant or a
chatbotthat can guide users effortlessly through the application.
This is like a mini-guide on how to set up an assistant with OpenAI.
We will be using the python programming language to interact with the openAI API.
Install dependencies
We will be using the openai python package to interact with the API.
pip install openai
You want to initialize your openAI API key.
import openai
import logging
import dotenv
import time
import os

dotenv.load_dotenv()


#Setting the logs to error level to make the prompts and responses clear


logging.basicConfig(
    level=logging.INFO, format="%(asctime)s - %(levelname)s - %(message)s"
)

logging.getLogger("openai").setLevel(logging.ERROR)
logging.getLogger("httpx").setLevel(logging.ERROR)


API_KEY = os.getenv('OPENAI_API_KEY')

if not API_KEY:
    raise ValueError('API key not found')
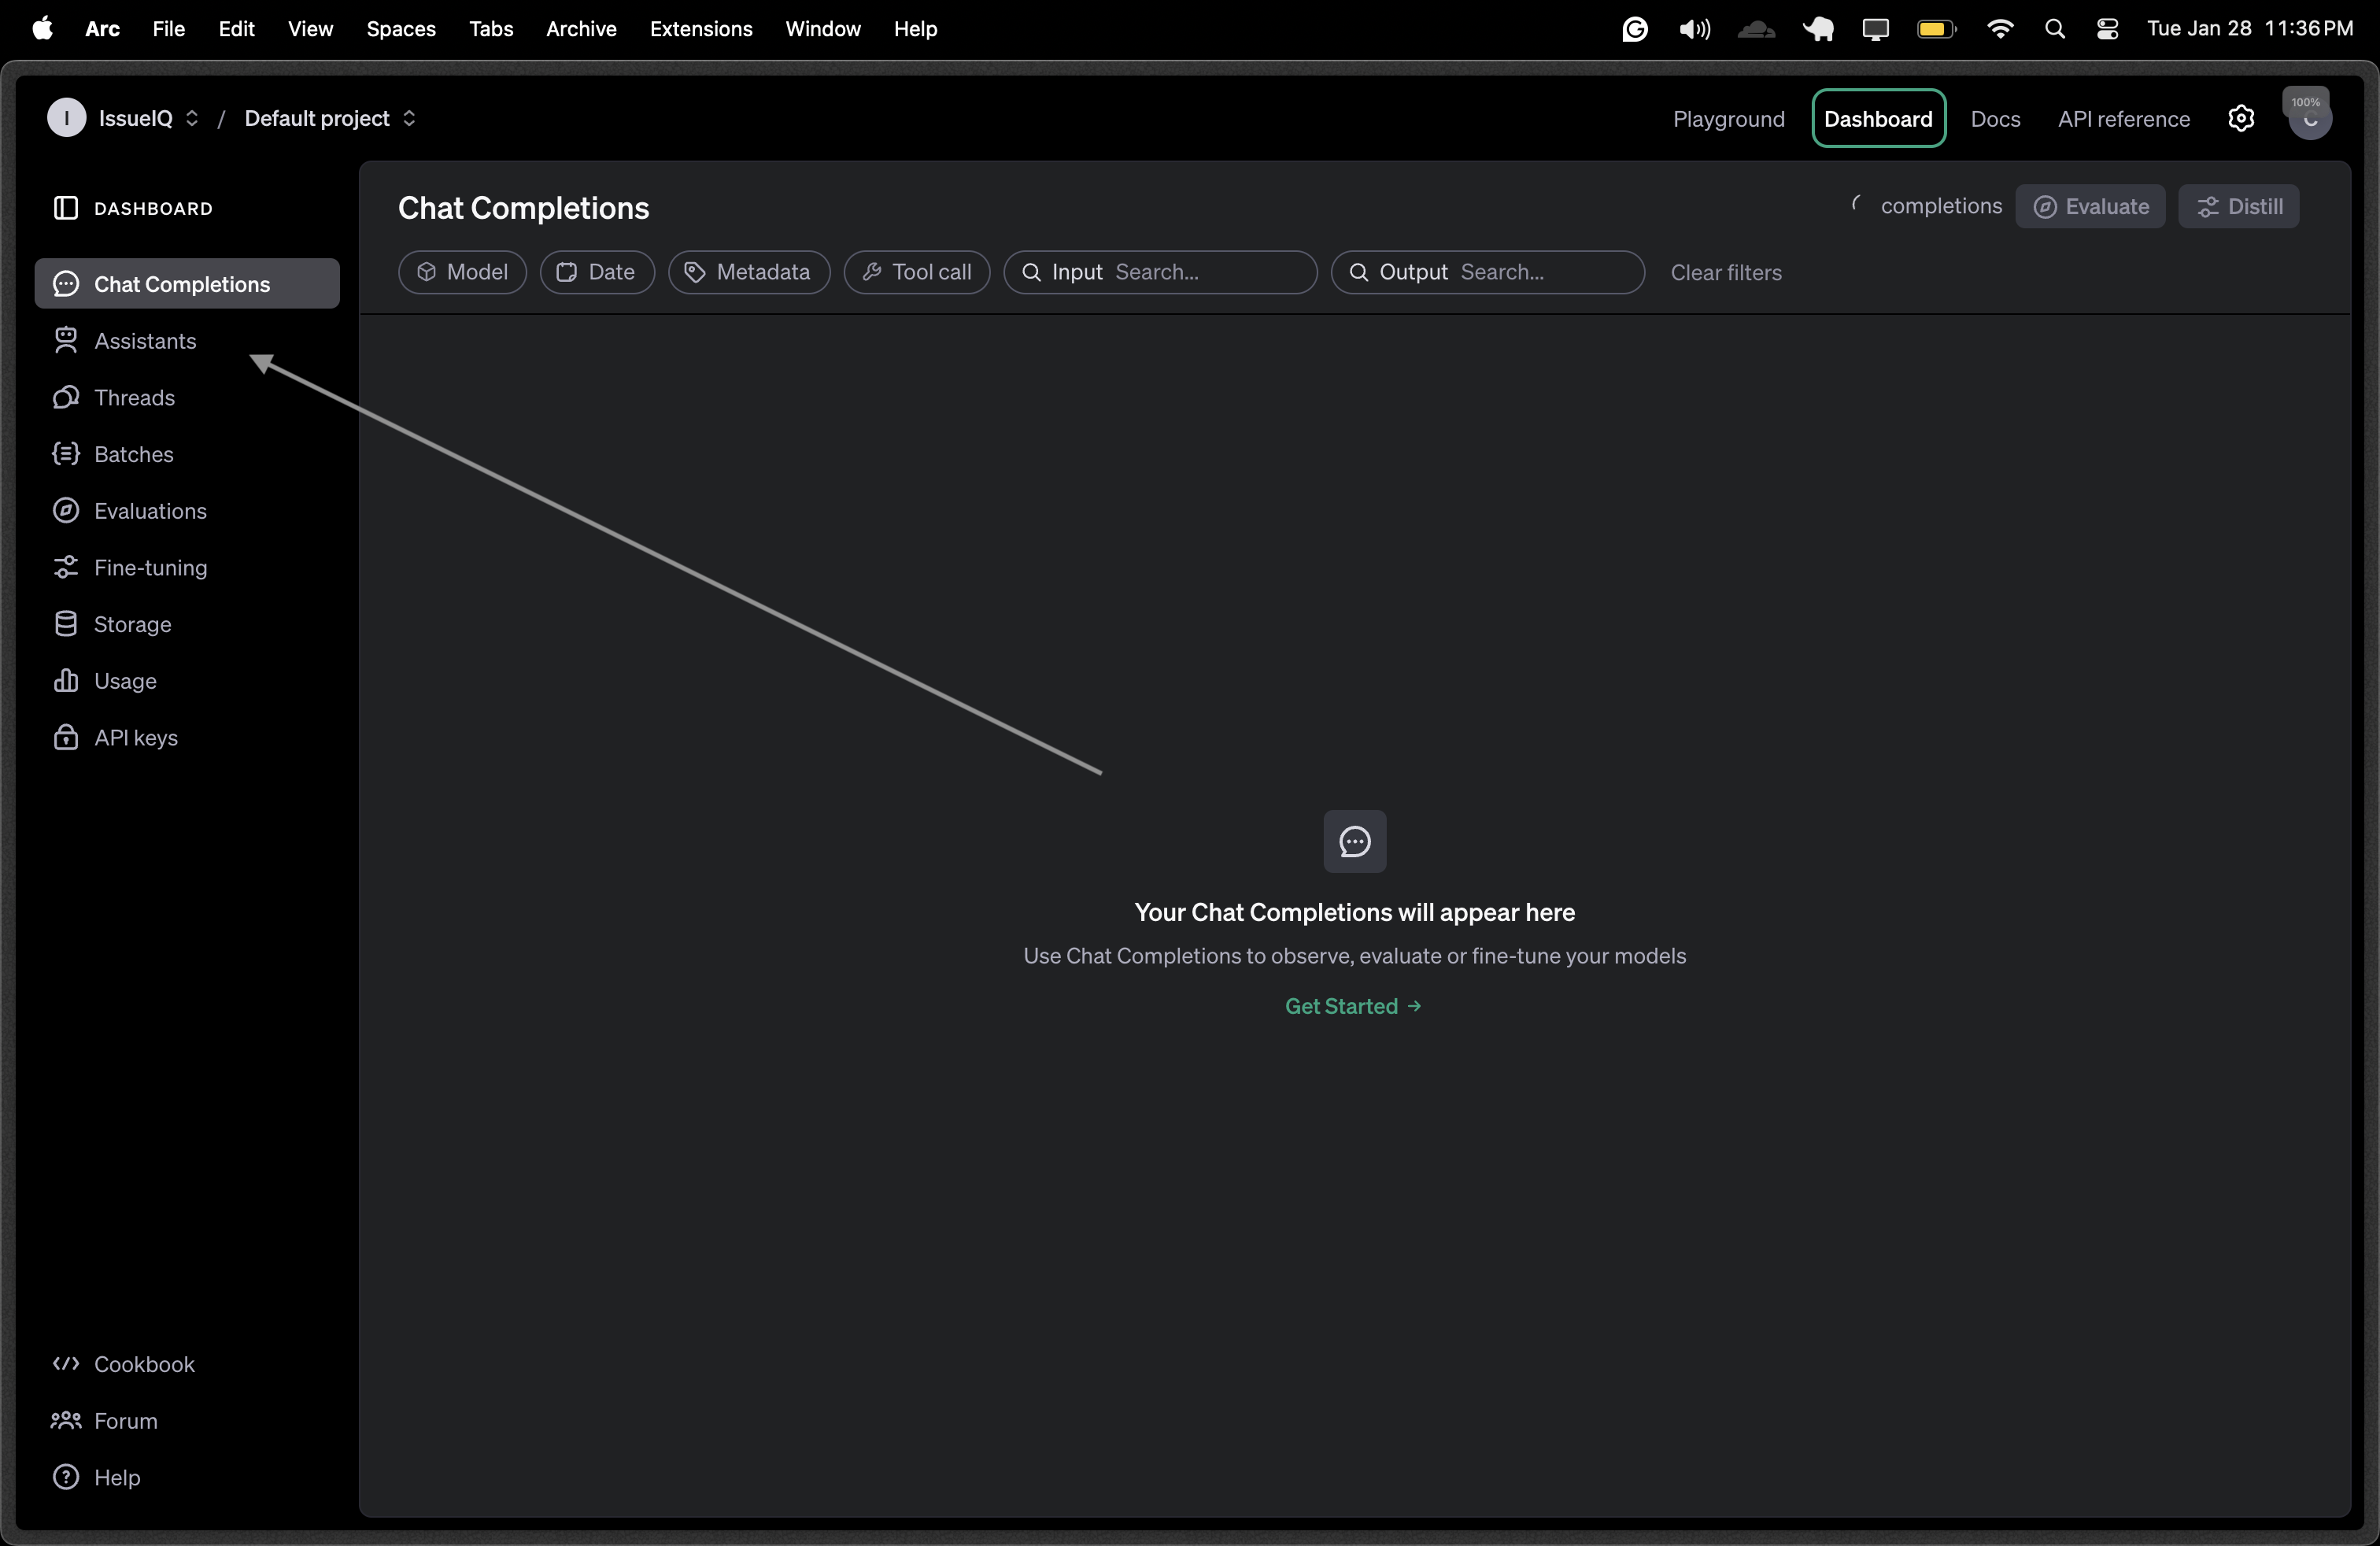
You can set up an assistant with OpenAI either manually or via the API. This is a beginner-friendly guide, so we will set it up directly in the OpenAI dashboard.
Next up is to come up with an instruction for your assistant. The instruction is a set of rules that guide your assistant in generating responses. Instruction example
You are a coding assistant. Your job is to help users with programming-related questions. Provide clear, concise explanations and example code snippets when needed. If a user asks for best practices, offer industry-standard recommendations. If a user asks for debugging help, guide them through troubleshooting steps.
You need to copy your assistant ID, the string value specified under the name input field
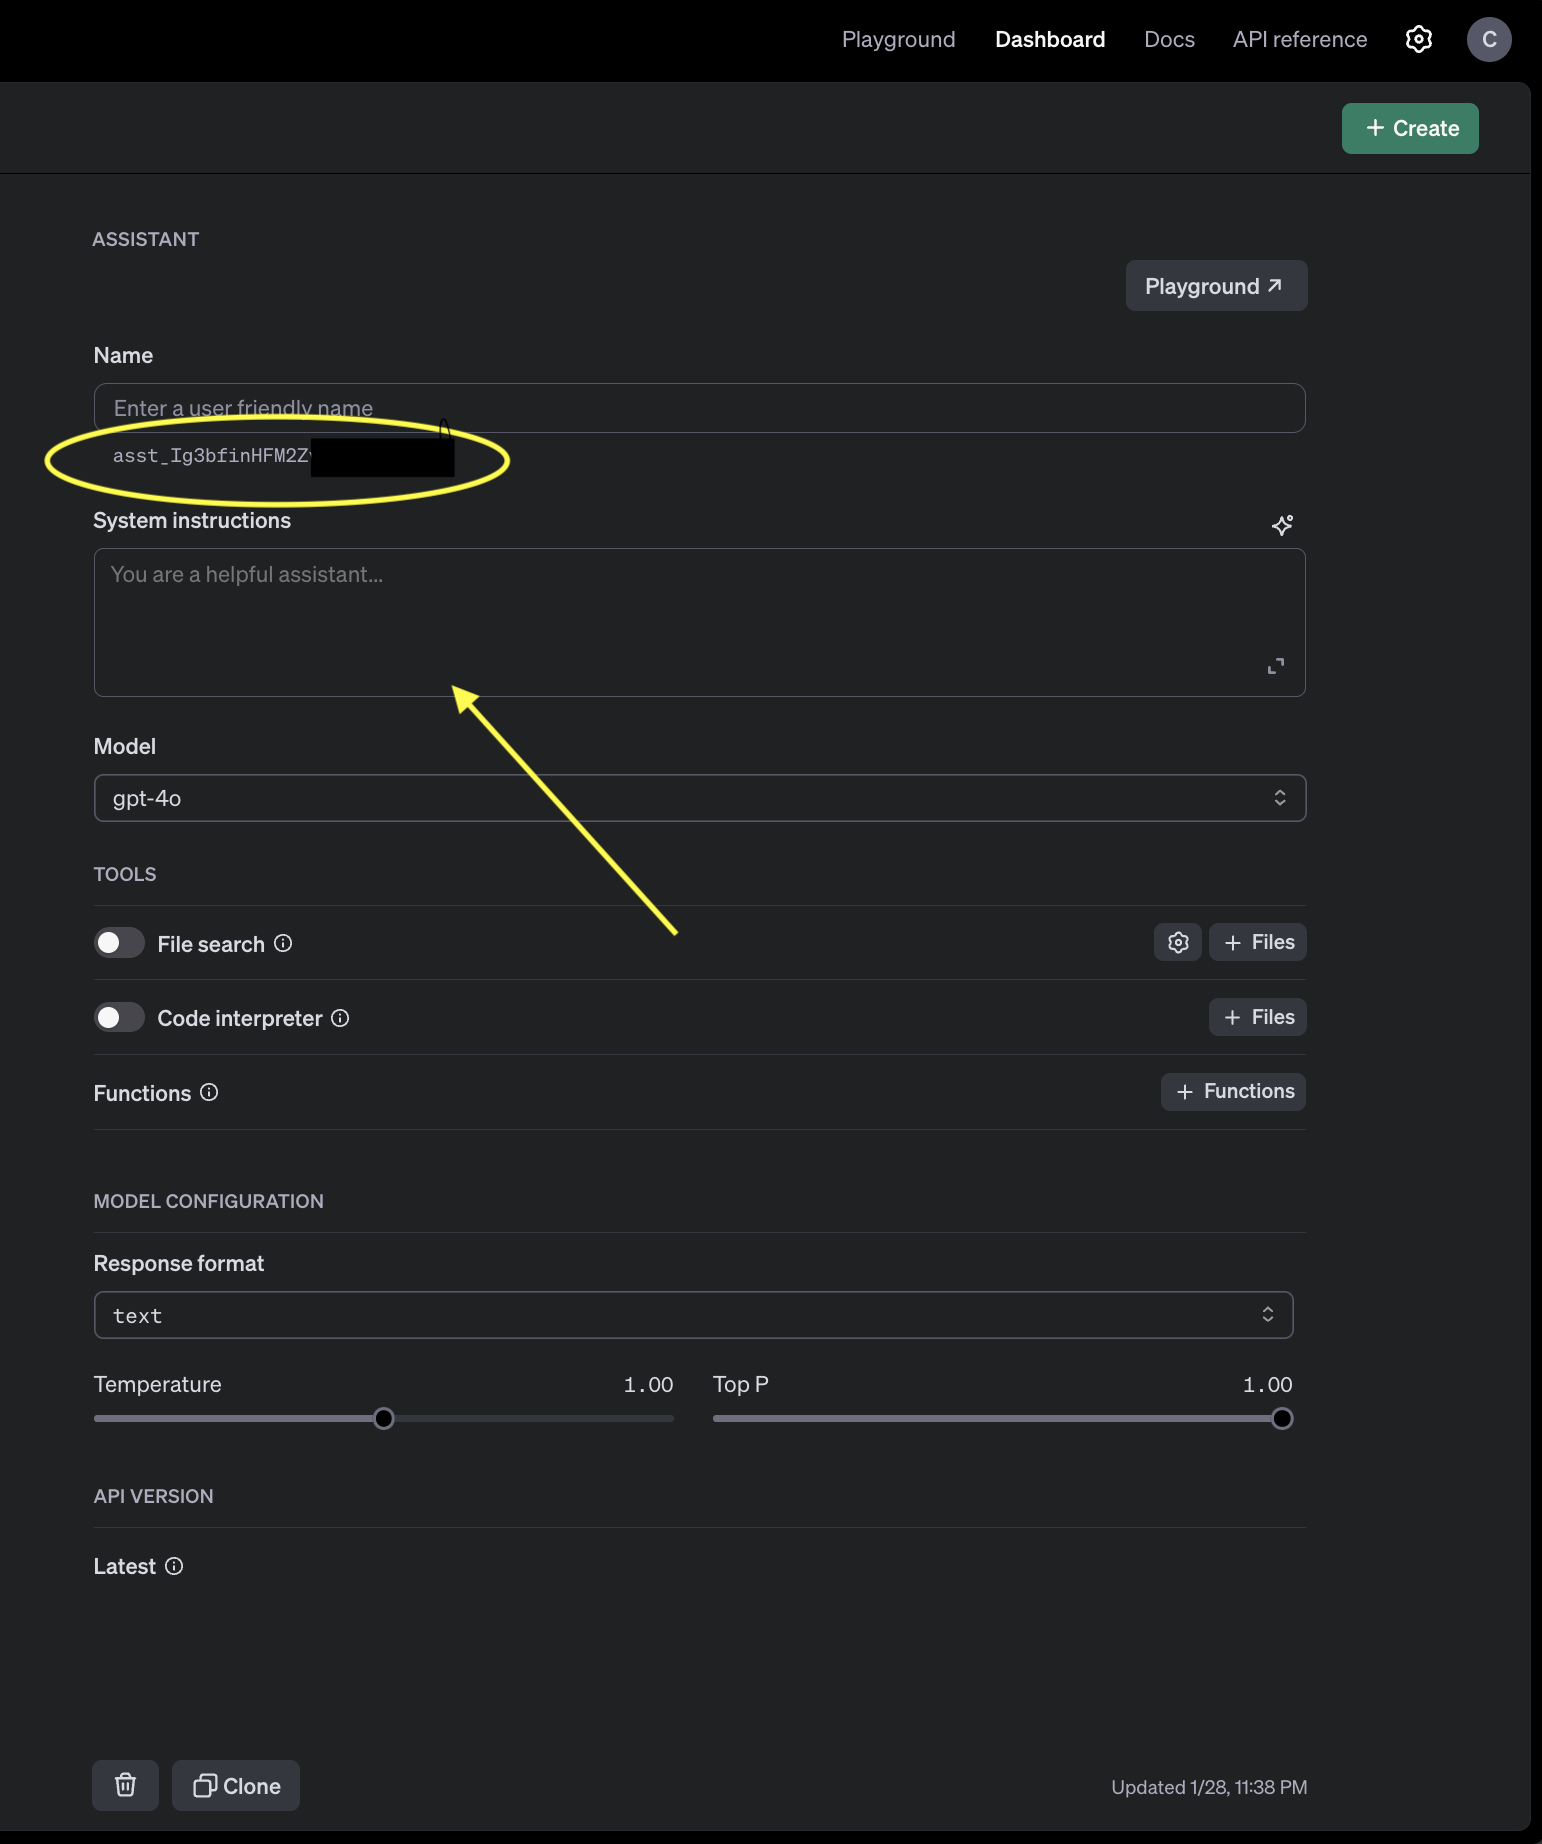
After successfully creating the assistant, you can go to the playground to test and see the responses of your assistant. This enables you to see how your assistant responds to different prompts and also modify the instruction for better responses.
Main Work
The main work is to interact with the assistant via the API. You can do this by sending a prompt to the assistant and getting a response back.
some key words here include: Thread & Run
OpenAI Assistant Thread: a thread in OpenAI Assistants is a conversation session that maintains context. Think of it as a chat history where messages are stored and referenced in future interactions
If a user asks about Python today and then follows up with another question tomorrow in the same thread, the assistant can remember the context.
OpenAI Assistant Run: A run is an execution instance within a thread where the assistant processes messages and generates responses. When a user sends a new message, a run is created to handle it.
Example 1️⃣ User asks: "How do I create a function in Python?" 2️⃣ A new run is started within the thread. 3️⃣ The assistant processes the request and responds. 4️⃣ Once the response is delivered, the run is completed, but the thread remains active for follow-up questions.
Interacting with the assistant
This code snipper follows the previous code snippet where we initialized
'''Every conversation you initiate with your assistant must be in a thread.'''

ASSISTANT_ID = "asst_Ig3bfinHWXXXXX"


def create_thread():
  try:
    thread = client.beta.threads.create()
  except Exception as e:
    logging.error(f"Error: {e}")
  return thread


def create_message(thread_id: str, message: str):
  try:
    _ = client.beta.threads.messages.create(
            thread_id=thread_id, role="user", content=message
    )
  except Exception as e:
    logging.error(f"Error: {e}")

def run_thread(thread_id: str):
  run = client.beta.threads.runs.create(
      thread_id=thread_id, assistant_id=ASSISTANT_ID
  )


def chat_with_assistant(thread_id:str, message:str):
  create_message(thread_id, message)
  run_thread(thread_id)

  '''You cannot directly get responses from the run variable.'''
  '''You need to check intermittently to see if the assistant is actually done processing your request'''

  '''runs have an attribute called status that helps to indicate if that request has been processed or there was a problem'''
  run_status_options = ["completed", "failed", "cancelled", "expired", "in_progress", "queued"]


  is_done = False

  while not is_done:
      run = client.beta.threads.runs.retrieve(thread_id=thread_id, run_id=run.id)

      if run.status in ["completed", "failed", "cancelled", "expired"]:
         break
      if run.status not in ["in_progress", "queued"]:
         return None

      # sleep for a few seconds before checking again
      time.sleep(2)

  if run.status == "completed":
    messages = client.beta.threads.messages.list(
        thread_id=thread_id, limit=1, order="desc"
    )

    if not messages.data:
        return None

    try:
        response = messages.data[0].content[0].text.value # get only the response from the assistant
        return response
    except (json.JSONDecodeError, AttributeError, IndexError) as e:
        return None

  else:
        logging.error(f"Run failed with status: {run.status}")
        return None
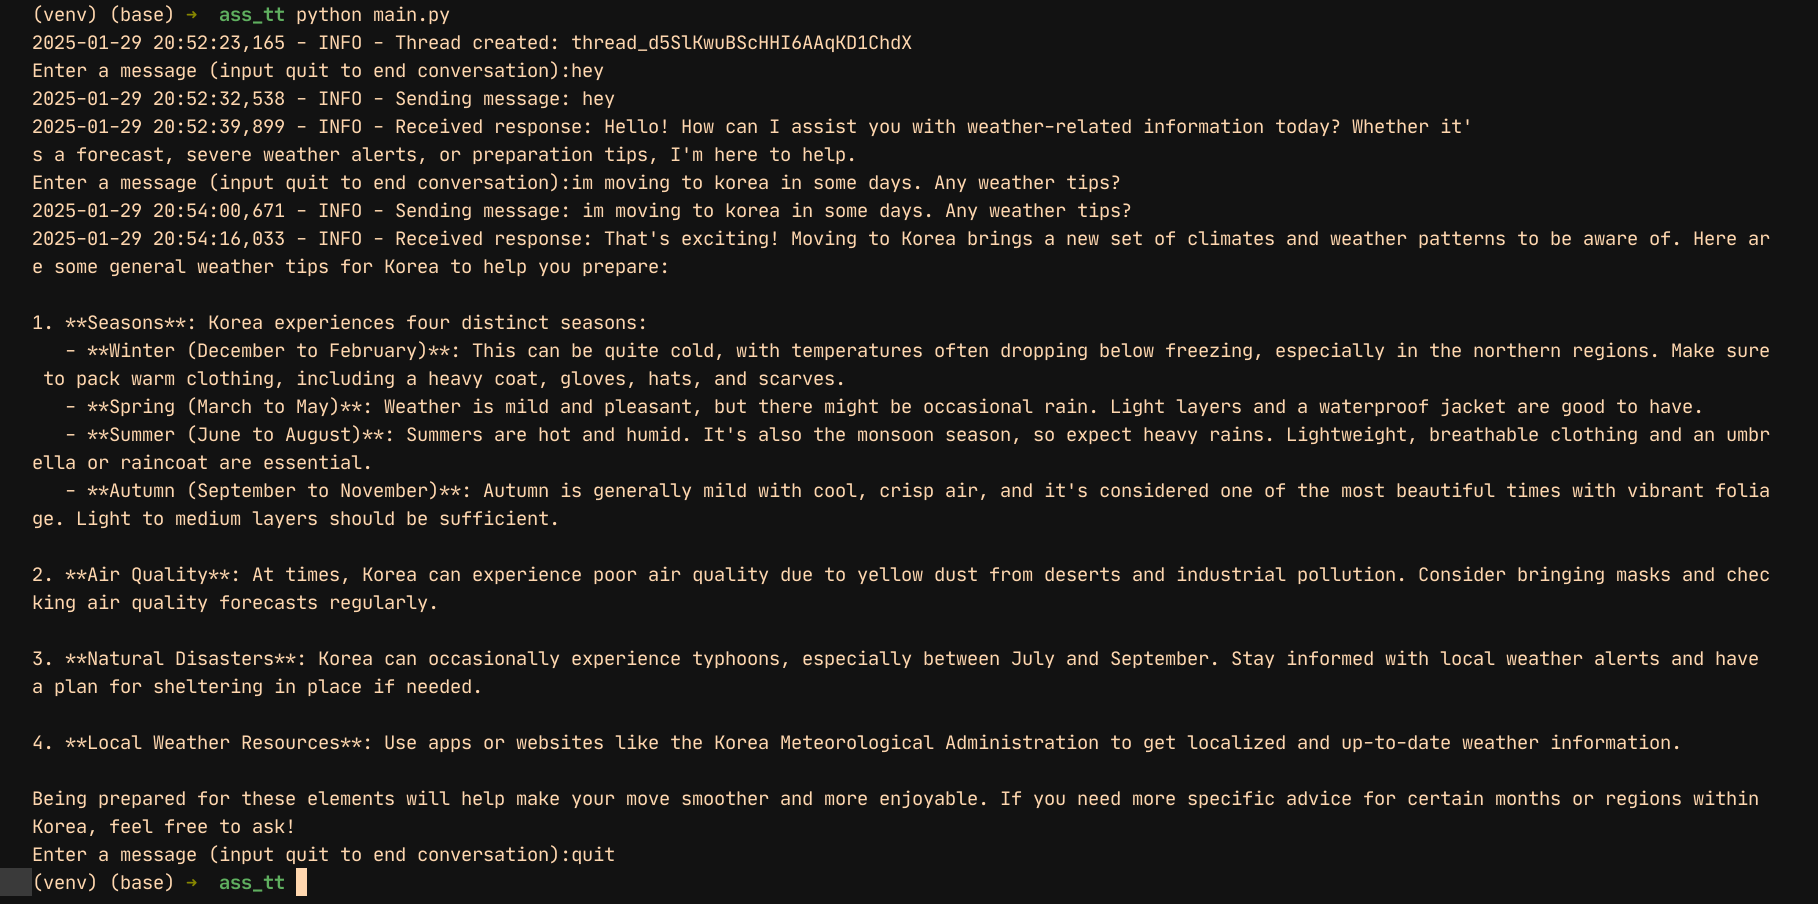
Our basic demo is almost done.Next, we will test our code...
# Create a new thread to start the conversation as explained earlier
thread = create_thread()

def test_assistant():
    while True:
        user_message = str(input("Enter a message (input quit to end conversation):"))
        if user_message == "quit":
            break

        logging.info(f"Sending message: {user_message}")
        response = chat_with_assistant(thread.id, user_message)

        if response:
            logging.info(f"Received response: {response}")
        else:
            logging.error("Failed to get response")


if __name__ == "__main__":
    test_assistant()
Testing this on my end, I get this
This guide is intended to help you set up an assistant with OpenAI in a beginner-friendly way. If you have any feedback, suggestions, or issues, feel free to leave a comment or reach out. Your input is appreciated! 🚀